Knowledge Base
Configuring XCAPI for handSIP T.38 Fax SIP Trunk
Procedure:
From your fax server:
-
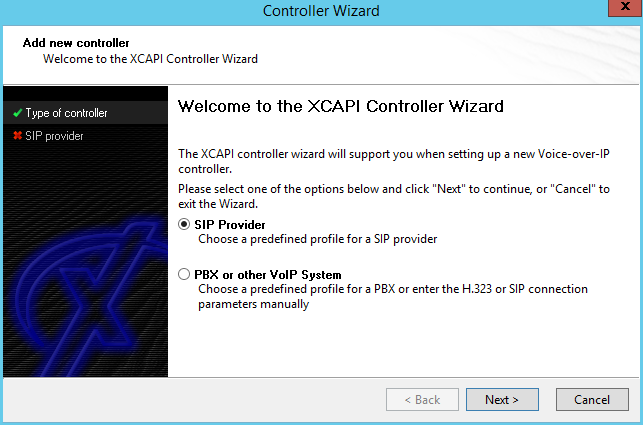
- Open the XCAPI Configuration program.
- On the Welcome Screen, select the SIP Provider and click Next.
-
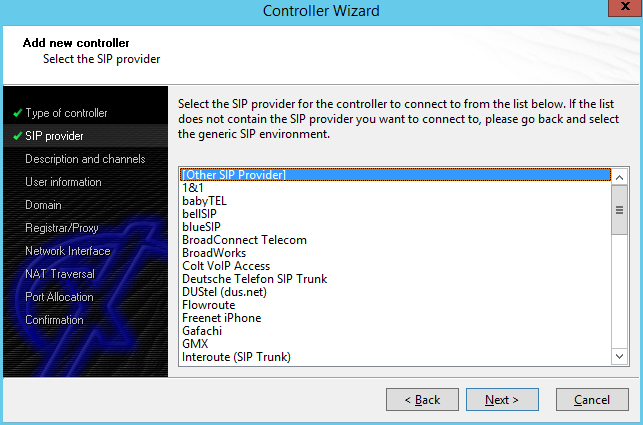
- From the list of SIP providers, select Other SIP Provider and click Next.
-
- In the right-hand pane, click the IP Parameters tab and enter the following information, and click Next.
-
-
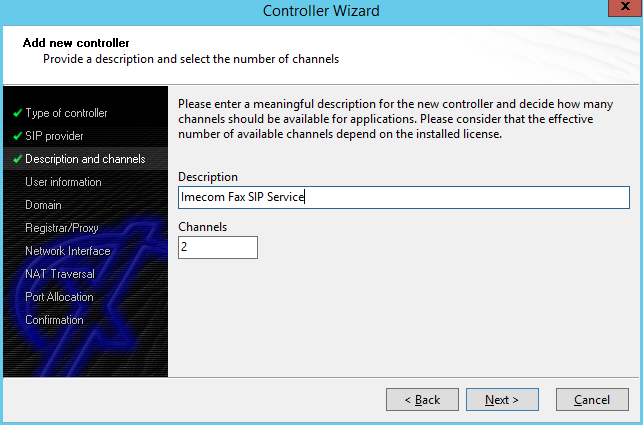
- In the Description field, add a name or description for the controller.
- In the Channels field, enter the number of channels/call paths. This coincides with the number of channels licensed in your XCAPI software.
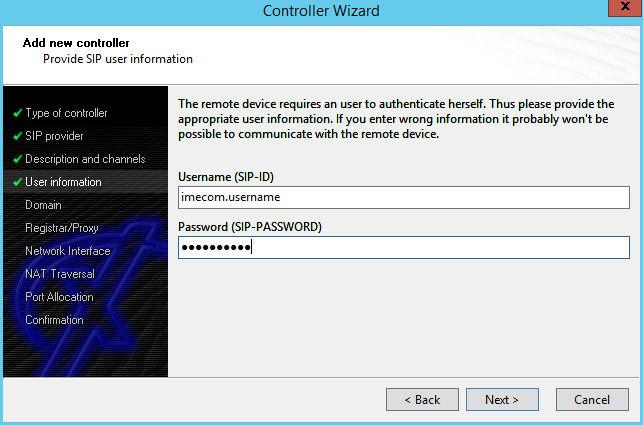
- Enter the handSIP username and password provided by your Imecom representative, and click Next.
-
-
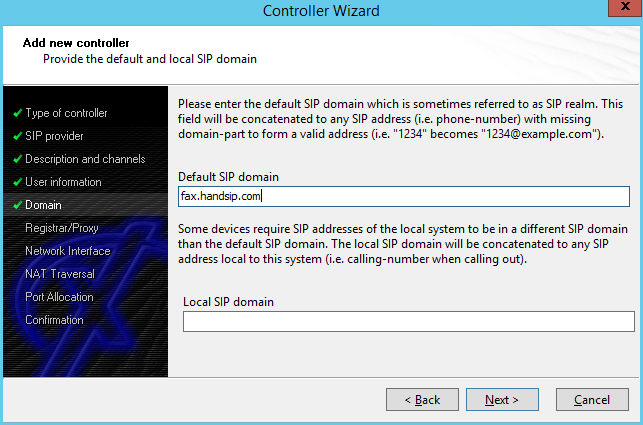
- In the Default SIP Domain field, enter fax.handsip.com, and click Next.
-
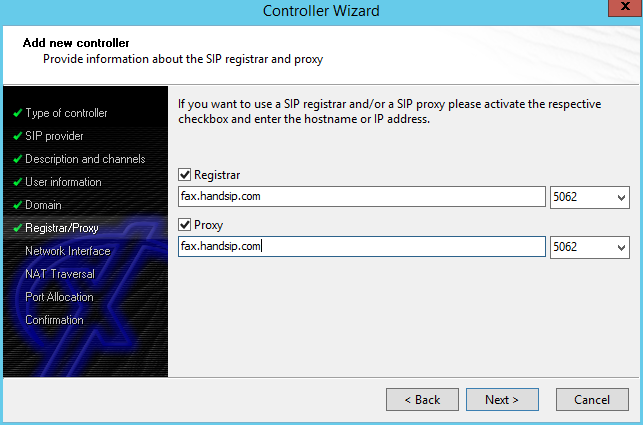
- Enable options for Registrar and Proxy with the following settings, and click Next.
-
-
- In the Registrar field, enter fax.handsip.com and set the port to 5062.
- In the Proxy field, enter fax.handsip.com and set the port to 5062.
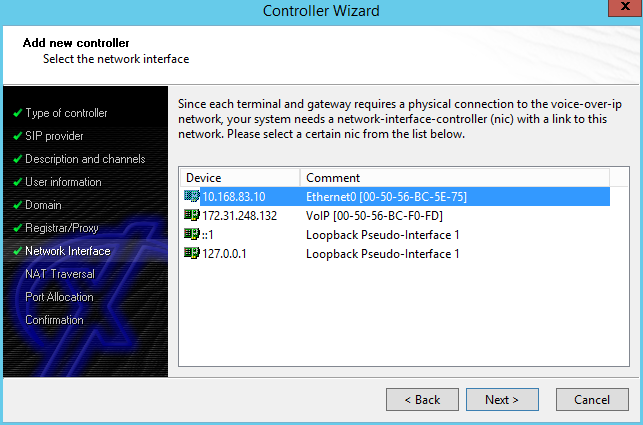
- Select the appropriate network interface to which the XCAPI is bound, and click Next.
-
-
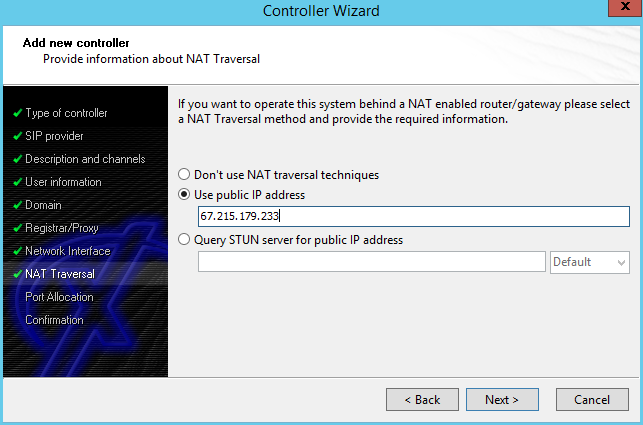
- Select Use public IP address and add 67.215.179.233, and click Next.
-
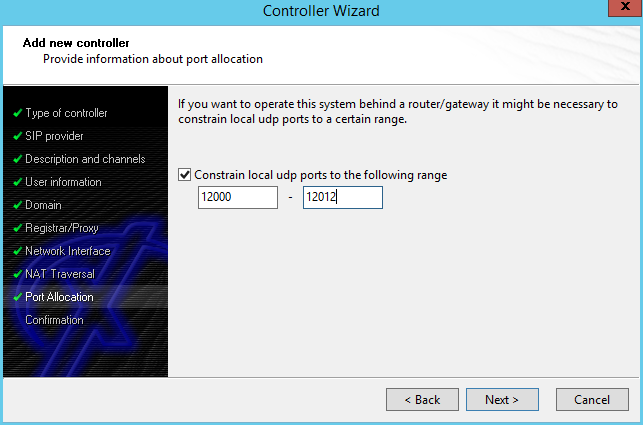
- Enable the option to Constrain local UDP ports… and enter 12000 – 12012, and click Next.
-
- Click Finish to close the configuration wizard.
- In the XACPI configuration program, switch to Advanced view.
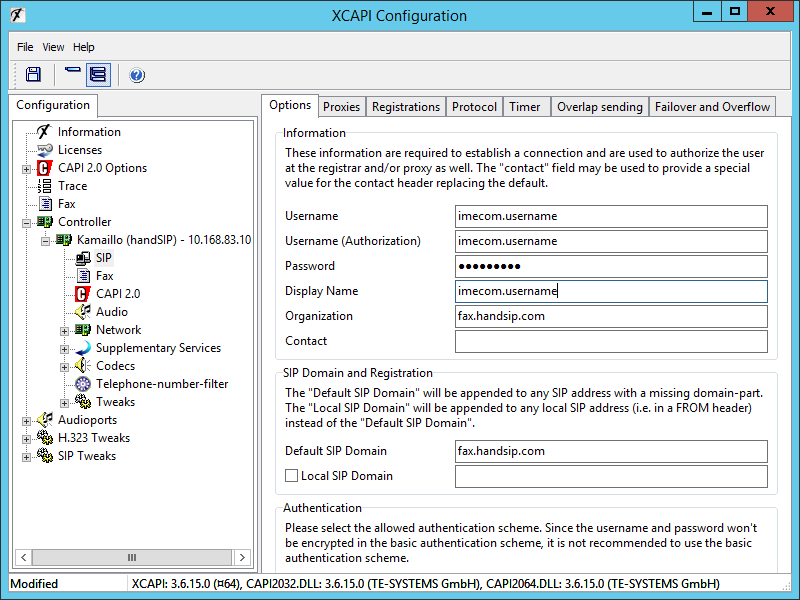
- In the left-hand pane, expand Controller > and click SIP. In the right-hand pane, populate the following fields:
-
-
- Username (Authorization): same as Username
- Display Name: same as Username
- Organization: fax.handsip.com.
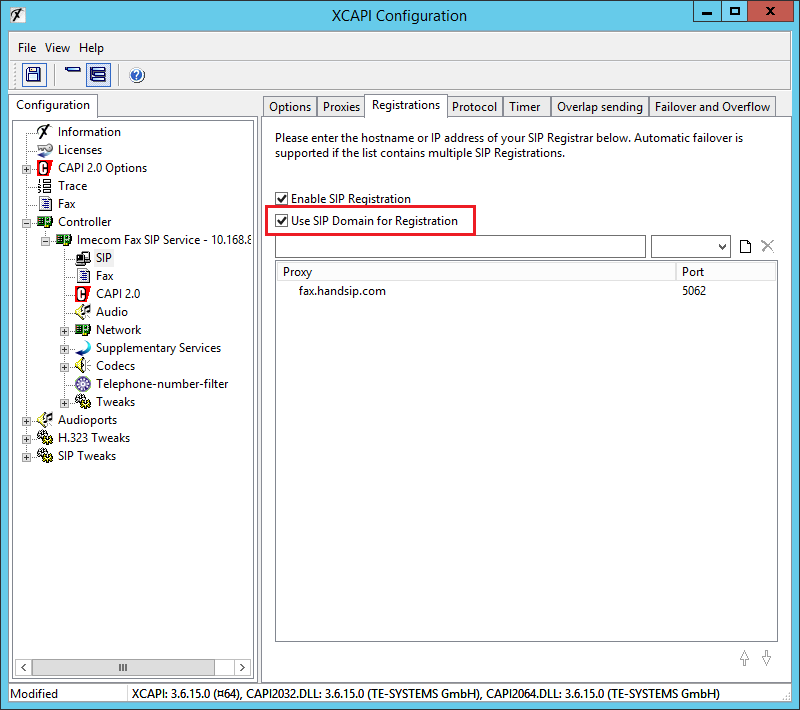
- On the Registration tab, enable the option to Use SIP Domain for Registration.
-
-
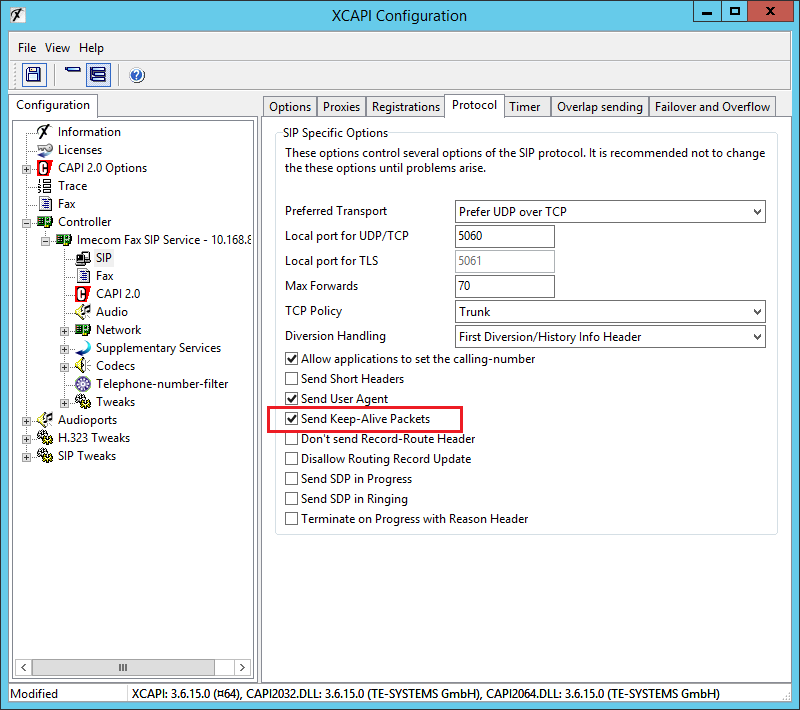
- On the Protocol tab, enable the option to Send Keep-Alive Packets.
-
- In the left-hand pane, expand Controller > and click Network. On the Method tab, set NAT Traversal method to Disabled.

- Save the configuration and close the XCAPI Configuration program.
Please Note: Consult your fax application documentation for instructions on whether or not you must restart any services following closure of the XCAPI Configuration program.